Popular Posts

Friday, August 31, 2018

Re-imagine SeaTron: part 3

So last time I turned the spaceship into a space truck and then... I dropped this on ya!  It's essentially a space age magnetic winch crate hauler module.


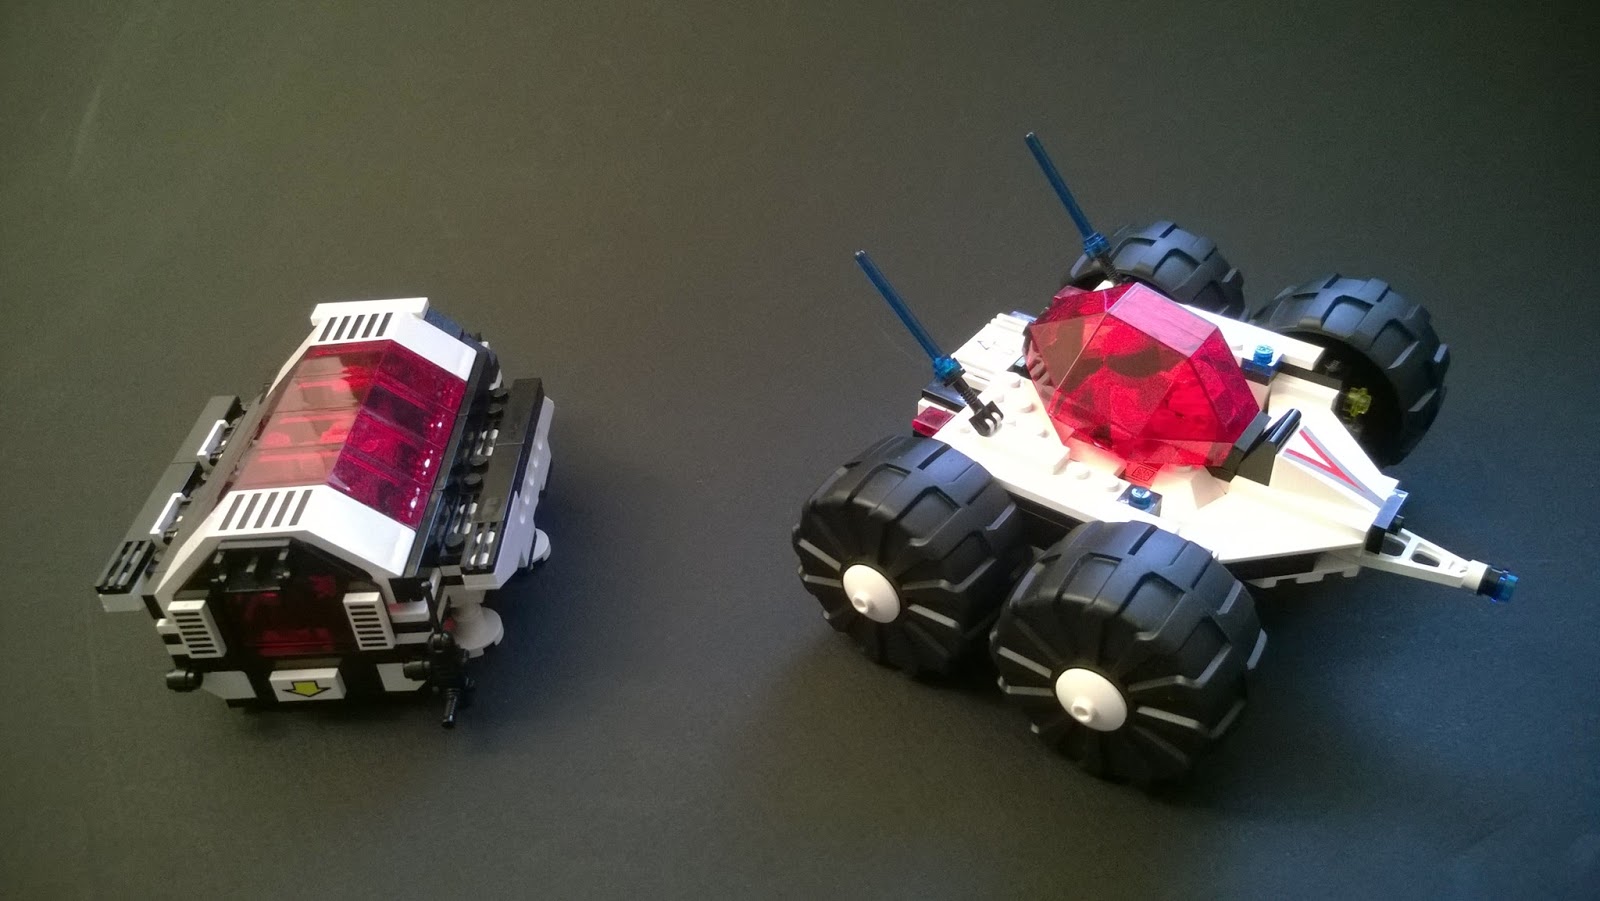
It was developed to do a particular thing... So, here's the configuration for which it was designed.  I'm not convinced this is the prettiest design, but it is yet another versatile option in the swiss army spacecraft's plethora of options.


I made some very mild cosmetic additions to the wings to minimize cargo sloshing.  A mere 2 bits were added and I think they look good even if the functionality is left un-utilized.
Space Control Panel


Dun dun dun, we all want to have a yellow submarine.  I did says re-imagine seatron... what would my spaceship be without a yellow submarine? 


The design for this yellow submarine is a very loosely interpreted take off from Sea Sprint 9, but utilizing the parts I have from the M:Tron, Futuron, Space Police, and Blacktron part selections.


I wanted to give Seatron's Submarine a more... Classic design.  Propellers are a bit underwhelming, but I could prolly swap em out for real ones quick enough.  The submarine uses way more SNOT than anything on my big spaceship.  Blacktron provides all of the yellow in use here.


And it goes like this.


Deep in the newly discovered reaches of the far off universe... A space freighter delivers a Submarine to a most liquideous moon.


Additional Configurations are opened up by the one  magnetic winch module addition.  With a few tweaks, i.e. removing the wings to an attachable stud, I can fit one of the space ship twins on board.


I really fancy the heavy look of the cockpit in this configuration.


The earlier design I showed off in part 1 can fit the rig in back and switch from a large fighter to a smaller hauler


I can even get the twin cockpits in on the towing fighter action.


Or yet again, the tow fighter can bring along a Yellow submarine.
Soo many toys!!!

I would be remiss if I forgot to show you the big main unit toting the Yellow Submarine.

Le gasp, the post must end, but I already wonder... what could the new rig bring to the wheel options I brought in earlier???


Sincerely, The Cure-all Pill

Friday, August 10, 2018

Reimagining Seatron: Part II

About a month after initially finishing the Modular Spaceship I was minding my own business when a builder in my head muttered... It'd look good with wheels.  So now we'll head back into the post to have a look at the central fuselage of the Spaceship and my new bevy of modules.  two Wheel rig pair styles, and a ball and joint hitch kit.

The hitch kits and wheel kits 'can' go on this way... The initial design was actually the reverse... but these modulars are pretty flexible, so.... shrug or whatever... I'll give you a tour.


For extra support in this modular tour I developed a robot loosely inspired by the Episode 1 Pit Droid design from 1999's Phantom Menace pod racer sets.  I built it as close as I could with the Space themes' available parts (didn't get far) so when those ran out the design took a left turn. The red driver works on getting things together while our red lab technician enjoys a lemon lime snowcone.


The arrow indicator prints are a bit raised in this instance to allow for clearance over my front units unlevel built up side.  On the back module and on an as yet unshown module they'll fit more snug, but for now.  This lifted shape manages to look good and the raised arrow gives a functional push point for removal.


The robot can drop its rig and take a seat at the wheel of this powerful rig.


Here's the lab interior mostly shorn of its tools and with a cool little console unit.  The red tray is currently empty.


Our lab technician needs to bring out a research sample kept in the handy lockbox.


The yellow sample oughta do.  Let's see what what we've got on this chipset.

The salinity of this planet's oceans exceeds our own, we'll have to make calibrated adjustments to the ballast for 'that'.
And so, that's variant one for this Moon Rover.  I didn't modify the body for the wheels, the new pieces were developed to pair to the existing superstructure.


The Lab unit can form a truck all on its own.


The lab console screen folds down to allow the technician to see forward and drive the lab around.
Variant 2 is a good deal simpler, I have a rock scrabbler and the lab it reports to.  This is the original working intention for the front wheels.  In truth... I think the design is a teensy weensy bit WIDE! at this scale.  
Variant 3 is the original shape I put all of these bits into.  It's basically the above in reverse.  Adaptable ain' it :)
The Robots welding tool can mount on the labs rocket attach point.

Variant 4 ditches the hitch and pushes the big wheels all the way back.  The connection utilizes the labs pre-existing inverted slope section and the wheel mount's push removal arrow indication print points to create a compelling suspension design which is level under load and adjusts downward over rough terrain.


The use of half pin axle pieces came about due to a shortage of suitably colored technic pin bricks.  They stabilize the modules and make removal easy.  But they also work great for this side application of 'I accidentally discovered a finished and decent suspension idea when I stuck my module on the superstructure this way.'


And suddenly a whole new attachable module was discovered.  What is it for!  
                                                             

Sea you again for Part III!
Sincerely the Cure-all Pill